
The Art of Linens in a Formal Table Setting
Summary:
Learn the art of formal table setting for events like black-tie weddings and corporate galas. This guide covers the history, components, and step-by-step instructions for setting a formal dinner table, ensuring a symmetrical and elegant presentation.
Main Points:
- Definition and history of formal table settings
- Essential components: tablecloth, utensils, glassware, and plates
- Step-by-step setup guide: placing tablecloth, chargers, plates, glassware, utensils, and napkins
- Symmetry and aesthetic tips for a visually appealing setup
Can you tell a fish fork from a salad fork? Can you distinguish a dessert spoon from a soup spoon? And are you confident you won’t accidentally mix up your bread plate and your charger? If not, it may be time to brush up on the fine art of formal table setting.
If you’re planning a black-tie wedding or corporate gala, most guests will anticipate heightened formality. Likewise, if you’re renting an event space, your catering team may ask about your preferences. In the event that you’re renting linens and utensils, you will need to understand what components you need and why.
In this blog, we’ll explore the history and critical components of the formal table setting. We’ll also include a step-by-step guide for how to set up a formal dinner table. Tuck in your napkin and read on to learn more about this classy dining tradition.
What Is a Formal Table Setting?
According to etiquette expert Emily Post, a formal table place setting is a symmetrical place setting. It’s appropriate for seated meals of three or more courses. You’ll see formal place settings at the State Room in the White House, royal banquets across Europe, and fine dining restaurants around the world. Today, many individuals use them for formal dinner parties, corporate galas, formal weddings, and fundraisers.
For less formal events, you might consider a basic or informal place setting, which has fewer components and rules.
This dining tradition goes back to Ancient Greek civilization and has even been documented in the epics of Homer. Over the centuries, as certain utensils fell in and out of favor, formal place settings have changed and evolved. For example, did you know that tablecloths only became popular during the Medieval era? They were used in place of napkins for decades.
Today, the formal dining table setup is more or less standardized, with some room for variations depending on what you’re serving. Consult the diagram of the formal dining table set up below for placement.
 Components of a Formal Table Setting
 Components of a Formal Table Setting
When setting a formal table, components should include:
- A tablecloth
- A service plate/charger and bread/butter plate
- A cloth napkin
- A fish fork, entrée fork, salad fork, oyster fork, and dessert fork
- A salad knife, entree knife, fish knife, and butter knife
- A soupspoon and dessert spoon
- A water goblet, sherry glass, wineglass, and champagne glass
As a general rule, no more than three of any single utensil should be placed on a table at once. The only exception is the oyster fork.
In a true formal table setting, your goal should be to set the table symmetrically. You can use décor, such as centerpieces and flower arrangements, to make the setup more symmetrical and visually appealing.
How to Set Up a Formal Dinner Table
Follow the steps below to set up a formal dinner table.
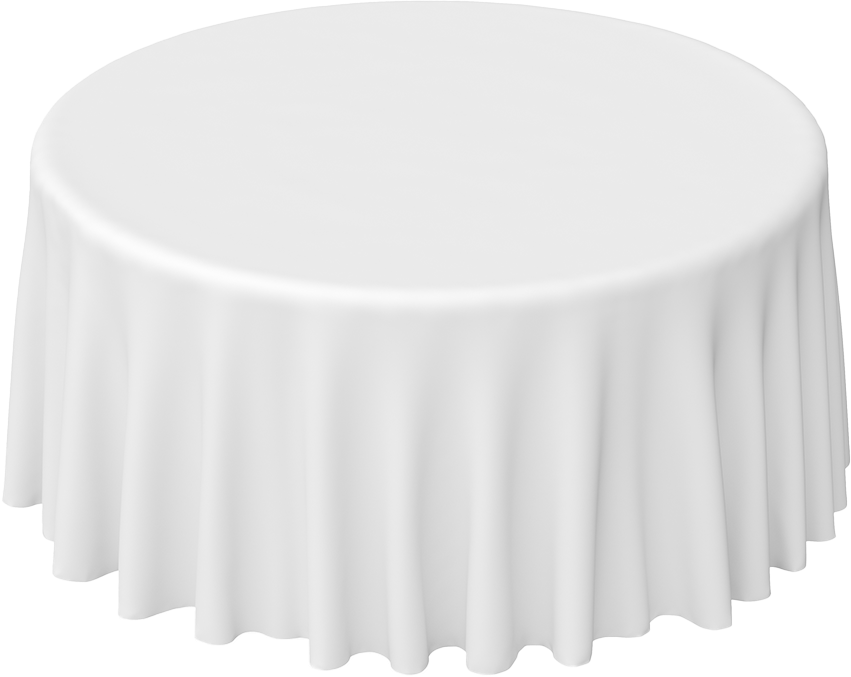
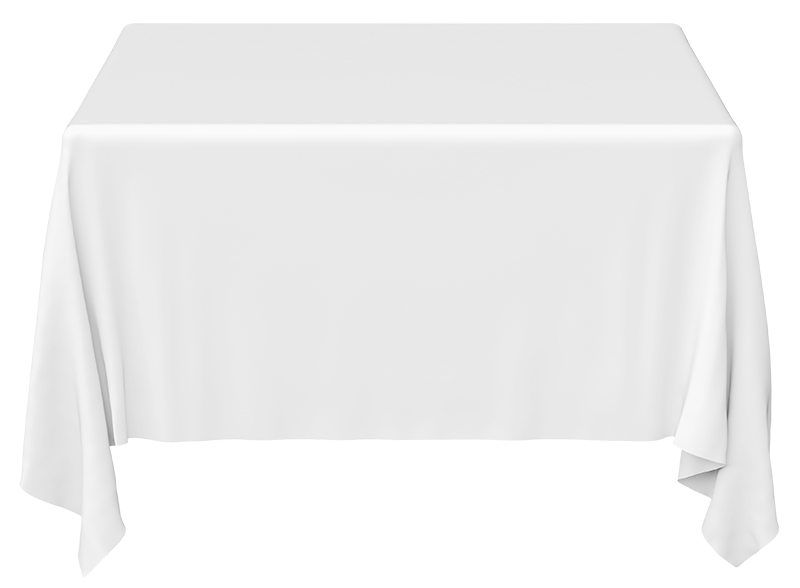
1. Lay the Tablecloth: All formal table settings should include a crease-free linen or fabric tablecloth. In most formal establishments, you will see a white tablecloth. However, you can choose a colored cloth for aesthetic effect. You might also use a colored square overlay on top of a traditional white tablecloth.
2. Set out Placemats: If desired, you can set a round placemat at each table setting. This step is optional but adds visual interest and can help create a cohesive theme at certain celebrations.
3. Set Out Chargers and Plates: Place your charger at the center of each table setting. It should sit approximately one thumb’s length from the table’s edge.
Place the bread plate (also called the butter plate) to the upper left of the charger. This will help you line up the forks. You can set your butter knife atop your bread plate.
4. Set Out Glassware: Arrange your glassware to the upper right of your charger plate, opposite your bread plate. Counter-clockwise, from the upper left, you should include a water glass, champagne glass, wineglass, and sherry glass.
5. Set Out Forks: Set your forks in a row beneath the bread plate. From left to right, set out the fish fork, entrée fork, and salad fork.
6. Set Out Knives and Spoons: Line up your knives and spoons to the right of the charger, beneath your glassware. From left to right, set out your salad knife, entrée knife, fish knife, and soup spoon.
If there will be an oyster course, set an oyster fork to the right of the soup spoon. If not, omit the oyster fork. The cutting edge of all knives should face your charger.
7. Fold and Place Your Cloth Napkin: Your cloth napkin should either go to the left of your forks or on top of your charger. You may choose to fold your cloth napkin to add aesthetic appeal. A colorful cloth napkin that contrasts with your charger plate is a bold and visually appealing option.
Traditionally, the dessert plate, fork, and spoon will be brought to the table separately after the savory courses. Usually, dessert utensils are placed on the dessert plate, with the dessert spoon above the dessert fork.
You may choose to pre-set your table with a dessert fork and spoon. If you pre-set these utensils, place them directly above your charger, with the dessert spoon above the dessert fork.
When planning a multi-course meal, your formal dining table cloth matters. Browse our tablecloth rental options to take your event to the next level.